Showing posts with label shsh. Show all posts
Showing posts with label shsh. Show all posts
Friday, October 11, 2013
Save SHSH of iOS 4 3 3 and 4 2 8 Using iSHSHit 1 0 8

Saving SHSH is a big issue for jailbreakers, if you don’t save them on time you can get into some troublesome downgrading. For this we already had TinyUmbrella but now iSHSHit has also been updated to version 1.0.8, it’s an alternative to TinyUmbrella. iSHSHit allows you to save SHSH blobs of iOS 4.3.3 and iOS 4.2.8 (Verizon). It does the same job as TinyUmbrella the difference is you can install it on your device where as TinyUmbrella is installed on your computer.
iSHSHit allows you to make a backup of your device SHSH certificates and save them on your device. It also send your saved SHSH blobs via email, also automatically saves your SHSH blobs on Cydia servers using Cydia On-File service. If you’re thinking “Why should i use iSHSHit? ” well the answer is pretty simple it’s as easy as clicking a “Save” button.
Sunday, October 6, 2013
Save SHSH Blobs iPad 2 To Keep iPad 2 Jailbreak
Yesterday we reported you that DevTeam was expressly stated that Apple will prevent the process of downgrading to lower iOS version for iPhone, iPod and iPad running the newly iOS 5. On the other hand, devices running firmwares lower than iOS 5 still in safe side, precisely they still able to downgrade their devices with old iTunes.Just read the latest Dev Team blog post... if you have an iPad 2, it would be a very good idea to save your 4.3.x SHSH blobs.As most of you know that Comex is about to release the long awaited iPad 2 jailbreak with JailbreakMe, Comex is now recommending all users interested on his iPad 2 jailbreak who are running iOS 4.3.x, to save SHSH blobs for the latest firmware version (4.3.3) to be able to keep the jailbreak.
How to Save SHSH blobs iPad 2:
You can Save SHSH blobs for your current iOS 4.3.x, just plug your iPad 2 with computer, then download TinyUmbrella then click the Save SHSH button.

Tuesday, October 1, 2013
How to Save Your iPhone iPad ipod SHSH Blobs Using RedSnow
| Phone | How to Save Your iPhone SHSH Blobs Using RedSnow (Windows) | ||
| These are instructions on how to backup and save your iPhone SHSH Blobs to Cydia using RedSn0w for Windows. Step One Create a folder on your desktop called Pwnage Download RedSn0w from 0.9.9b1 here and place it in the Pwnage folder. Extract the RedSn0w zip file into the same folder. 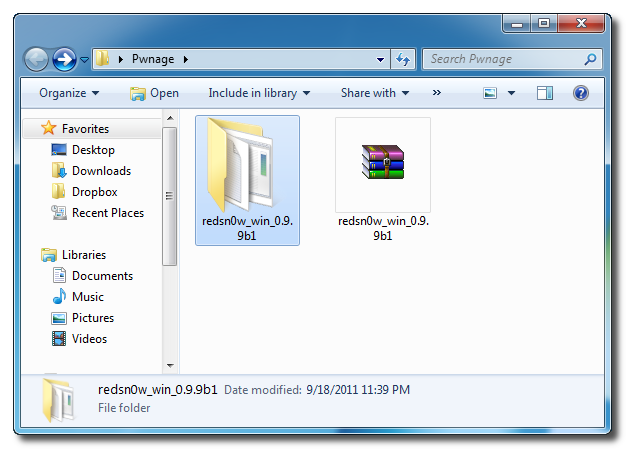 Step Two Launch the redsn0w application from the redsn0w folder we just extracted. **Windows 7 users should run the redsn0w executable mode as an administrator in Windows Vista compatibility mode. You can do this by right clicking the executable and selecting Properties from the contextual menu. 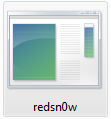 Step Three Once RedSn0w opens click the Extras button 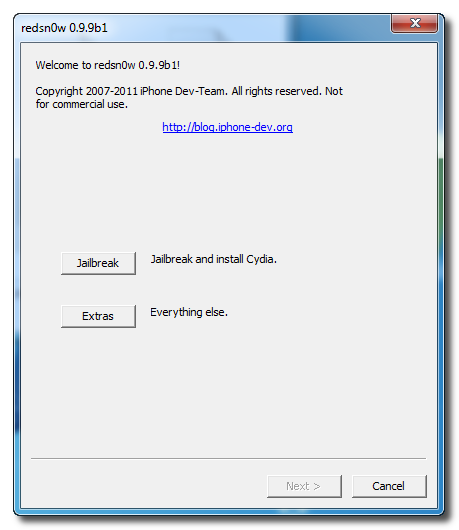 Step Four Click the SHSH blobs button from the Extras menu. 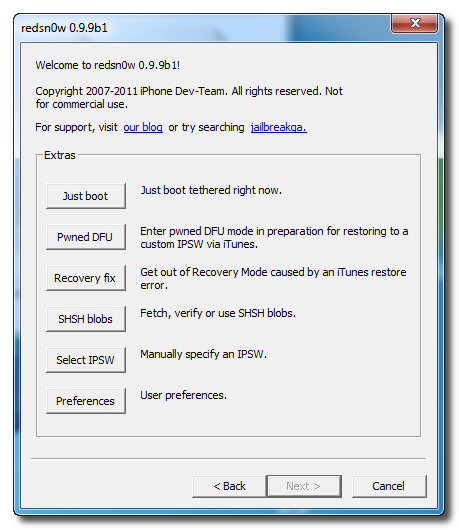 Step Five Click the Fetch button to fetch the SHSH blobs on your device and send them to the Cydia server for storage. 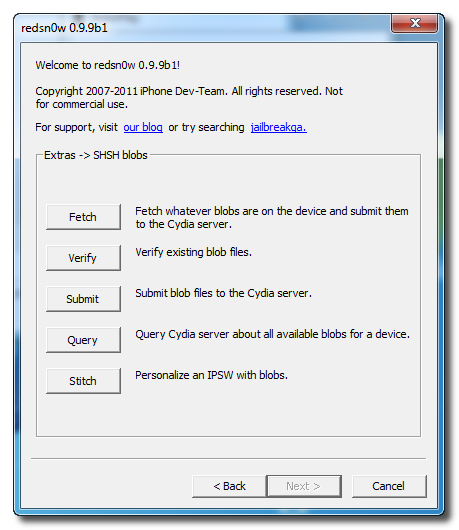 Step Six Please plug your iPhone into the computer and make sure its OFF then click the Next button 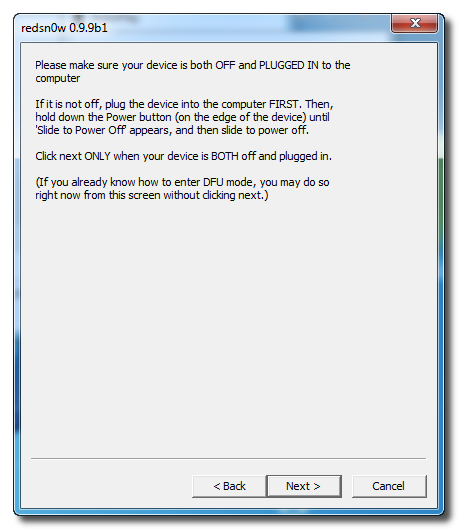 Step Seven RedSn0w will now guide you through the steps to get into DFU mode. You can find more help with DFU mode here 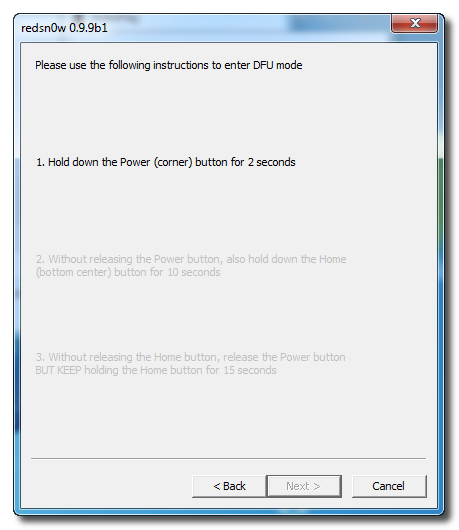 Hold down both the Home button and the Power button for 10 seconds.  Release the Power button and continue holding the Home button until RedSn0w detects the device. 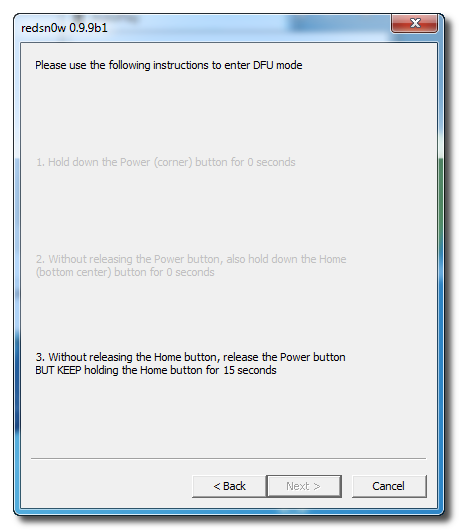 Step Eight Your iPhone will now reboot 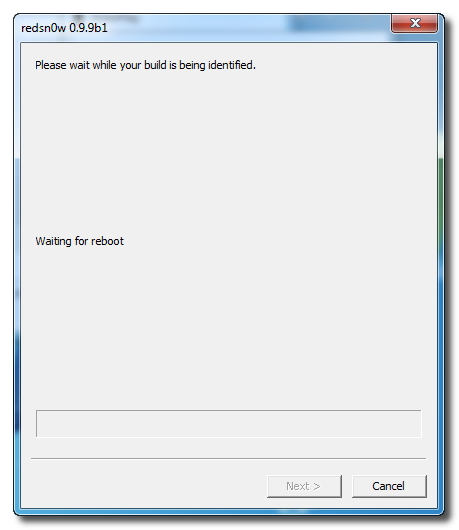 Step Nine RedSn0w will then begin fetch the SHSH blobs from your device and submit them to Cydia. 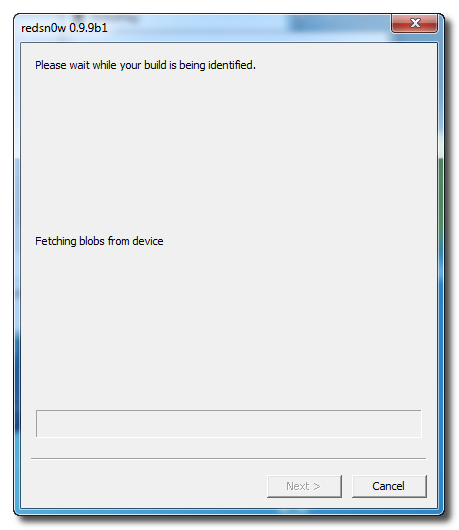 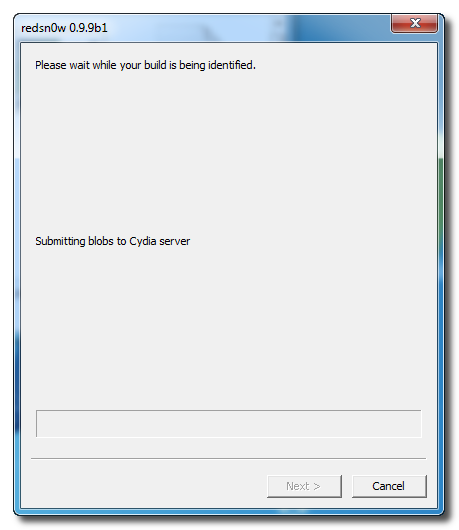 Step Ten Once this is complete you will be notified that your submission was a success. Click the Back button to return to RedSn0w.  Step Eleven Click the SHSH blobs button and then click the Query button to make sure Cydia has your blobs saved. 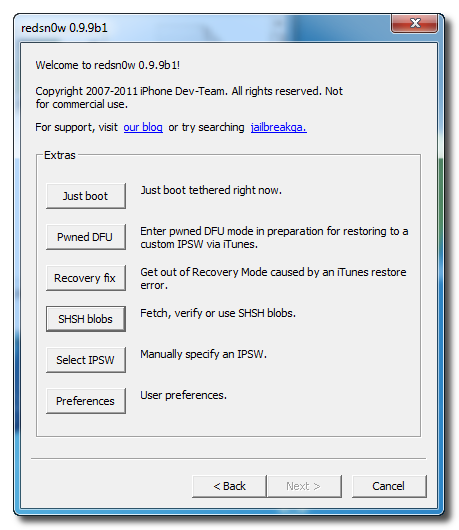 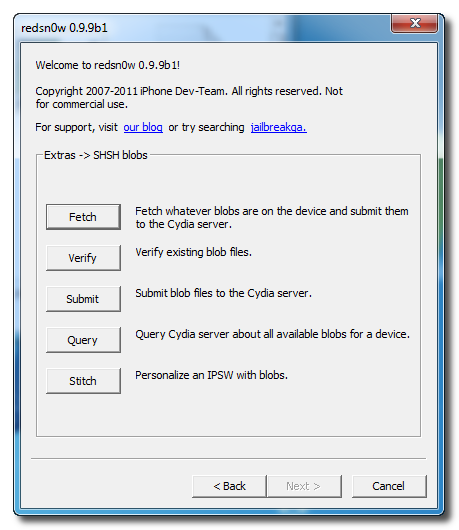 Step Twelve Enter * into the ECID textfield and click OK to check all your devices.  Step Thirteen RedSn0w will now query Cydia and display the list of stored blobs. 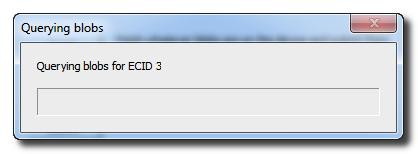  Important: RedSn0w also saves your blobs in a plist located within the RedSn0w folder. We would recommend keeping these for added safety. 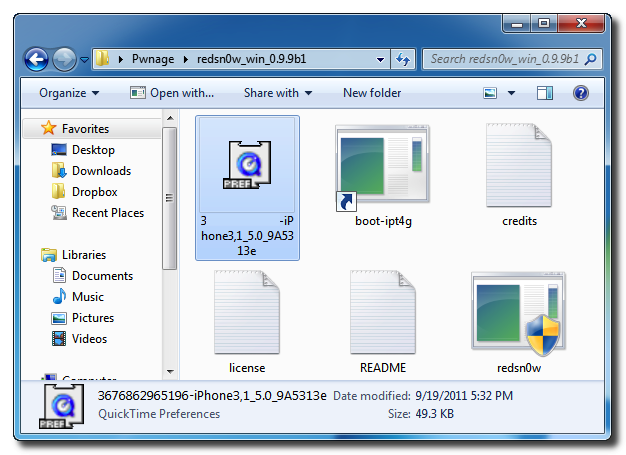 How to Save SHSH Blobs Using RedSn0w (Mac) Lets see how to Save iPad SHSH Blobs using Redsn0w : Step one : Create a folder on your desktop and rename it with Pwnage , then Download RedSn0w 0.9.9b1 from here and place it in the Pwnage folder then Extract the RedSn0w.zip file into the same folder.  Step two : Run Redsn0w application from the folder we just extracted. Step three : When RedSn0w opens click Extras button.  Step four : Click SHSH blobs button from the Extras menu.  Step five : Click the Fetch button to fetch the SHSH blobs on your device and send them to the server of Cydia.  Step six : Conect your iPad to the computer while your iPad is OFF then click the Next button  Step seven : Now you will be guided by Redsn0w through the steps to get into DFU mode.    Step eight : Your iPad will restart now.  Step nine : RedSn0w will then begin fetch the SHSH blobs from your device and submit them to Cydia.   Step ten : When your submission is completed you will be notified. Click the Back button to return to RedSn0w.  Step Eleven : Click the SHSH blobs button then click the Query button to make sure Cydia has your blobs saved.   Write * into the ECID text field and click OK to check all devices  Step Thirteen : Now RedSn0w will query Cydia and show the list of stored blobs.   Tip RedSn0w also saves your blobs in a plist located within the RedSn0w folder. We would recommend keeping these for added safety.  | ||
Sunday, September 29, 2013
How to Save 4 3 3 4 2 8 SHSH iPhone iPod Touch iPad Using TinyUmbrella 04 33 00
TinyUmbrella 4.33.00 has released to allow you to save iOS 4.3.3 on iPhone 4, 3GS, iPod touch 4G, 3G and iPad, also TinyUmbrella 4.33.00 allows you to save SHSH for Verizon iPhone 4 running iOS 4.2.8.

Download Links:
TinyUmbrella 4.33.00 for saving SHSH iOS 4.3.3:
Read More..
As a reminder, to save your SHSH blobs, simply connect your iDevice via USB to your computer, launch TinyUmbrella, and click the “Save SHSH” button.
Download Links:
TinyUmbrella 4.33.00 for saving SHSH iOS 4.3.3:
Monday, September 23, 2013
Downgrade iOS 4 3 5 To 4 3 3 No SHSH Blobs Needed
Every body who has accidentally upgraded to iOS 4.3.5 wants to get back to iOS 4.3.3 to have fully untethered jailbreak, But some didn’t save their iOS 4.3.3 SHSH Blobs and some did but they faced some errors while trying to downgrade their devices. Well here’s a way to downgrade to iOS 4.3.3 without SHSH Blobs.

Here is a way which has been discovered by one of our readers:
First you will need:
- Restore Files [Download]
- Redsn0w [Download for Windows Or Mac]
- iOS 4.3.3 For your device [Download]
- iTunes 10.4.1 [Download]
Step 2: Open redsn0w and jailbreak your device, Here is a video tutorial, but point to iOS 4.3.3 instead of 4.3.4.
Step 3: Then the iPhone will stop on the recovery mode.
Step 4: Open Tinyumbrella (can be found in "Restore Files" folder above), then click on your iPhone name at the left then press on Start Tss Server.
Step 5: Open iTunes and restore your iPhone with iOS 4.3.3 firmware (Shift + Restore) then close it.
Step 6: You will find error 1013, at this time you have to use Fixrecovery (can be found in "Restore Files" folder above).
Step 7: Open iFaith (can be found in "Restore Files" folder above) and Save shsh file.
Step 8: Open sn0wbreeze (can be found in "Restore Files" folder above) to create custom iOS 4.3.3 firmware and restore with it. Done.
Saturday, September 21, 2013
How to Dump the SHSH Blobs of Your Current Firmware Using iFaith
These are instructions on how to dump the SHSH blobs of your current firmware even if Apple is not signing.
For instance, you can dump the SHSH of the current firmware on your device, so long as the device is susceptible to the Limera1n jailbreak (Everything but the iPad 2) Apple does not have to be signing the SHSH in order for you to dump the blob.
*Note the iPod Touch 2G and iPhone 3G will not work since they will always be jailbreakable. The iPad 2 will not work because it is not susceptible to Limera1n. A jailbreak is not needed for this.
Step OneDownload the iFaith from here.
Step TwoExtract the downloaded zip file, and double click the iFaith.exe file.
Step ThreeA disclaimer will appear. Read the notice and click ok to proceed.
Step Four
Click the Dump SHSH Blobs button
Step FiveRead the information and click Proceed when you are ready.
Finally, click the Lets Go! button to start the dumping process.
Step Six
If you are dumping an Apple TV 2, indicate it when iFaith asks you
Step SevenFollow the DFU Instructions to place your device in DFU Mode. You can find more on entering DFU mode here.
Press Power and home for 10 Seconds
Release the power button, but keep holding the Home
Once Successful, iFaith will dump the SHSH of your current firmware. It will go through each step which could take a few minutes.
Step Eight
When completed, iFaith will ask you where to locally save the SHSH.
Indicate where you want to save the SHSH file.
Step NineiFaith will notify you that the process was successful
**Thanks goes to ih8sn0w and everyone else who helped in making this tool


Subscribe to:
Posts (Atom)